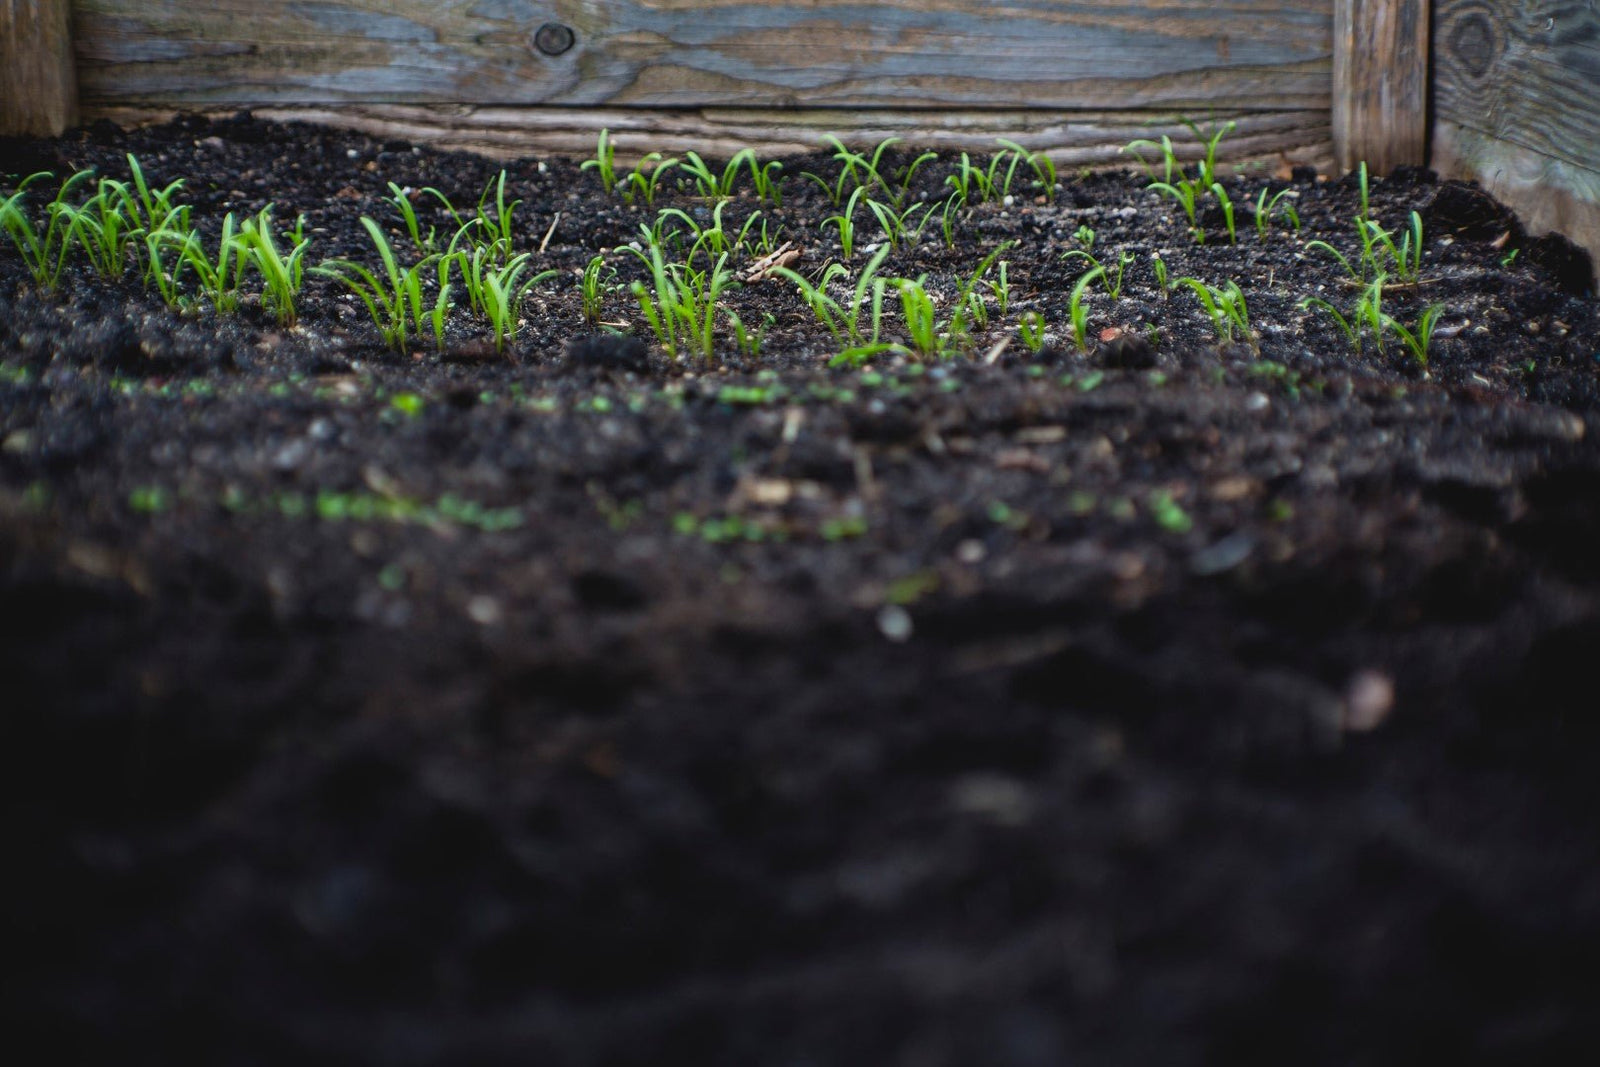
Have you experimented with Vermicomposting? If you aren't yet familiar with it, vermicomposting is the process of using worms and their impressive ability to turn kitchen and yard waste into a rich compost that you can use to add deep nutrition and beneficial microorganisms to your soil. How can you begin collecting fresh worm compost? Start by creating a worm bin!
Worm bins are easy to start, cheap to create, and in a few months, you will have some rich worm compost ready to use! First, grab yourself an opaque bin and put some holes on the sides and bottom. For the bedding, fill your container with about 1/3 loose shredded paper and be sure to moisten it with dechlorinated water.
Once your bedding is ready, it's time to add in a layer of food scraps. Fall Leaves, vegetable peels, tea bags, corrugated cardboard, pulverized eggshells are all great examples of suitable wastes to toss in. Compost bins sometimes smell due to the nature of the process, but you can heavily reduce this smell by feeding your worms at a pace that matches their consumption. It depends on your bin size and amount of worms, but usually, feeding them once a week or tossing in a few handfuls of food every few days is a good routine. After adding your food, place a bit more bedding onto your scraps and throw in a bit of soil for grit. When it comes to worms, Most people go with Red Wiggler worms as they eat and produce more than most other worms, and they tolerate a wide range of environments. You should aim to keep your bin around 40-80 degrees and be sure that your medium is always moist but not dripping wet.
After a few months, the bin's contents will have turned to an earthy, crumbly mix. Pick out as many worms as you can and harvest your batch of compost. Use this compost to enrich your flower beds, house plants, and veggie gardens and more by mixing it into the soil or sprinkling as a topdressing!
Do you have a worm bin, or have you messed around with vermicompost in the past? We'd love to hear about your experience with it.


![[Feature Highlight] Zones w/ Batch & Phase Tracking - Pulse Grow](http://pulsegrow.com/cdn/shop/articles/feature-highlight-zones-w-batch-phase-tracking-726407_1600x.png?v=1695824155)
